- December 11, 2024
- in House Cleaning, WALLS
- by Vera Rodriguez
- 305
- 0
Kitchen cabinets and cupboards are essential for storing dishes, utensils, and ingredients. However, these hardworking spaces often accumulate grease, grime, and food residue, which can dull their appearance and even harbor bacteria. Regular cleaning is not only a matter of aesthetics but also hygiene. This guide will walk you through how to wash your kitchen cabinets and cupboards effectively, leaving them spotless and fresh.
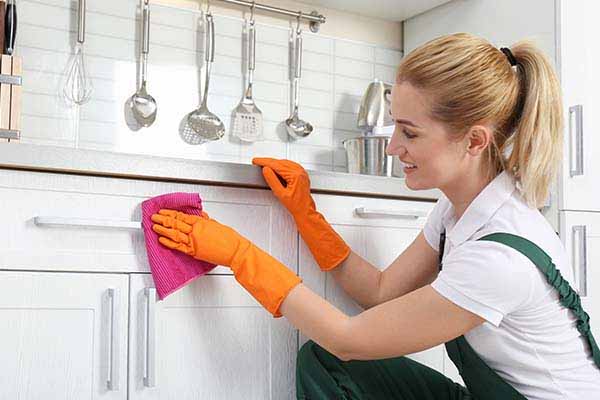
Over time, kitchen cabinets collect layers of dirt, grease, and dust, especially those near the stove or sink. These residues can:
Regular cleaning keeps your kitchen looking its best and ensures a healthier cooking environment.
Before diving into the cleaning process, gather these supplies:
Start by removing all items from your cabinets and cupboards. This includes dishes, food, and any shelf liners. Place these items on a clean surface to avoid contamination.
Use this opportunity to declutter. Check expiration dates on food and discard anything outdated or damaged.
Once empty, use a dry microfiber cloth or a vacuum with a brush attachment to remove loose dust, crumbs, or cobwebs. Pay special attention to corners and edges.
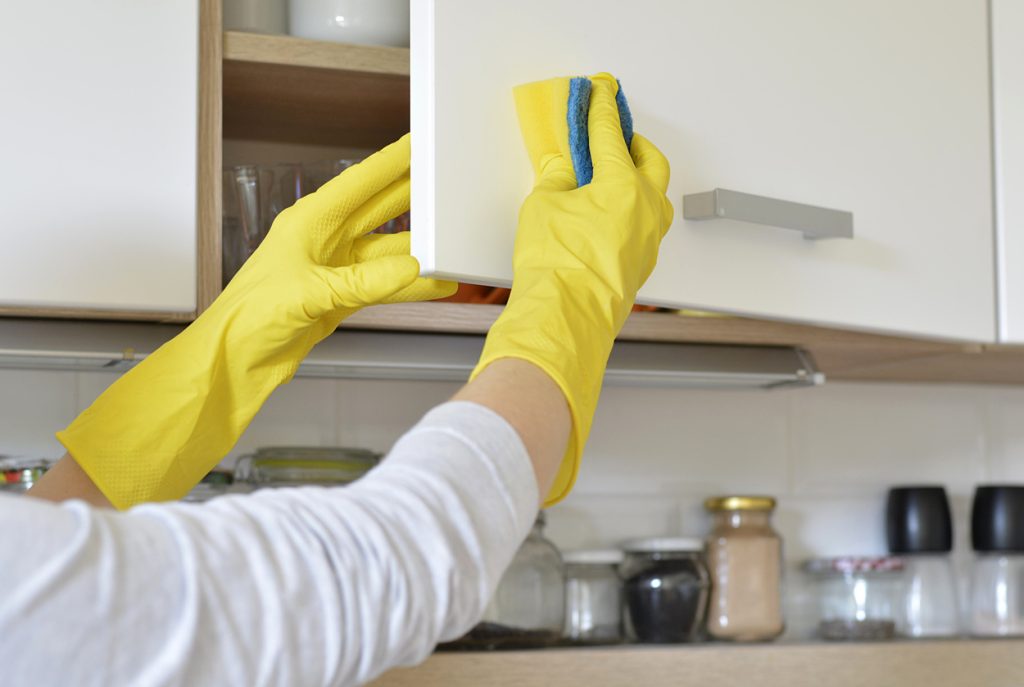
Spray the cleaning solution onto a microfiber cloth or sponge and gently wipe the cabinet doors, handles, and edges. Avoid soaking the surface, especially if your cabinets are made of wood, as excessive moisture can damage them.
For wood cabinets, always wipe along the grain to maintain their natural finish.
Spray the cleaning solution inside the cupboards and use a sponge or cloth to wipe them down. For grease or food residue, let the solution sit for a minute before scrubbing gently.
Remove any adjustable shelves for easier access and cleaning.
For stubborn grease, apply a small amount of degreaser or use the baking soda paste. Scrub with a soft-bristle brush or sponge. Avoid using abrasive scrubbers that could scratch the surface.
After cleaning, wipe the surfaces with a damp cloth to remove any soap or vinegar residue. Then, use a dry cloth to thoroughly dry the cabinets and cupboards. This prevents water spots and preserves the finish.
Don’t forget the handles, knobs, and hinges. Remove them if possible and soak them in warm soapy water. Use a toothbrush to scrub crevices. Dry them completely before reattaching.
Once your cabinets and cupboards are clean and dry, replace the items you removed. Use shelf liners if desired to protect surfaces and make future cleaning easier. Organize items in a logical order to maximize space and accessibility.
Cleaning your kitchen cabinets and cupboards may seem like a daunting task, but with these step-by-step instructions, you can keep them looking and functioning their best. Regular maintenance not only improves the appearance of your kitchen but also ensures a healthier environment for you and your family.
Remember if you want to get your house Sparkling Cleaned without moving a finger, don’t hesitate and call Cleany!
To purchase the best Cleaning products recommended by professionals, go to our Cleany Store!


